

Description
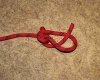
Ashley’s stopper knot makes a well-balanced trefoil-faced stopper at the end of the rope, giving greater resistance to pulling through an opening than other common stoppers.
Use
Used as a stopper knot.
Releasing
Jamming
History
Ashley developed this knot in trying to duplicate a knot he saw on a boat in a local oyster fishing fleet. When he had a chance to observe the knot up close at a later time he realized it was just a badly water-swollen figure eight stopper knot.
Other names
Ashley’s stopper knot, Ashley stopper knot, Oysterman’s stopper.
Tying
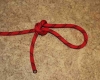
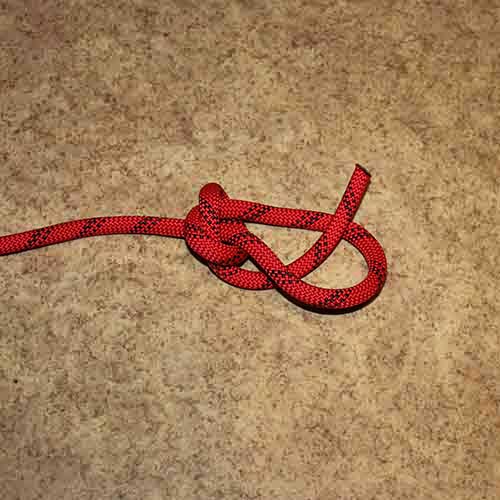
1. Form an Overhand noose, or simply tie an overhand knot around the standing part as shown.
2. Tighten the overhand portion of the knot around the standing part.
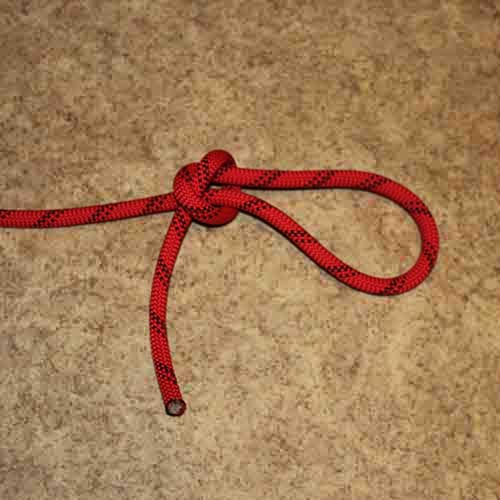
3. Pass the working part through the loop.
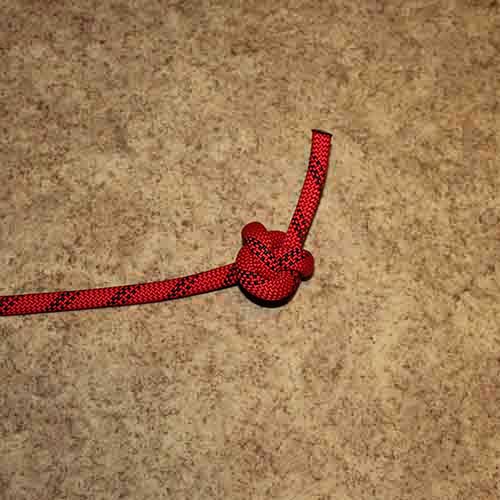
4. First close the noose on the working part by pulling on the standing part, then remove any remaining slack in the knot by pulling on the working part.
The knot should have a tidy, triangular shape where the standing part enters the knot.