

Description
Secure shoelace knot is a variation of the two loop shoelace knot. It is one of several more secure
alternatives to the common shoelace knot. Secure shoelace knot is made by looping the top part of the
knot twice instead of once, which results in a finished knot of almost identical appearance but with
the laces wrapped twice around the middle.
It is relatively easy to tie and easy to untie.
Good for slippery laces.
Use
Used for tying shoelaces in sports, mountain climbing, boating and other activities where secure
yet easily untied knot is needed.
Releasing
To release just pull by the free ends just like ordinary shoelace knot.
Security
Way more secure than the standard shoelace knot.
Other names
Turquoise Turtle Shoelace Knot, Shoemaker’s Knot, Ian’s Secure Shoelace Knot, Surgeon’s Shoelace Knot,
Double Slip Knot
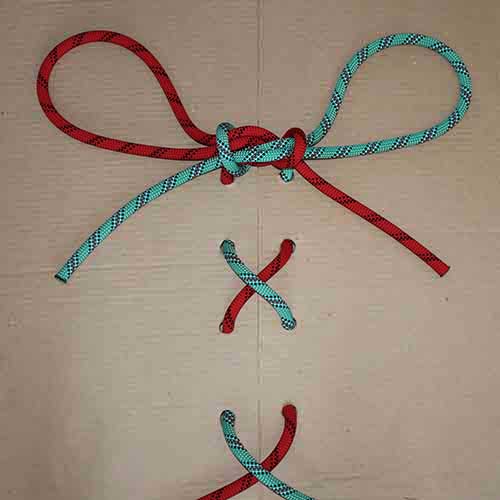
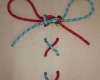
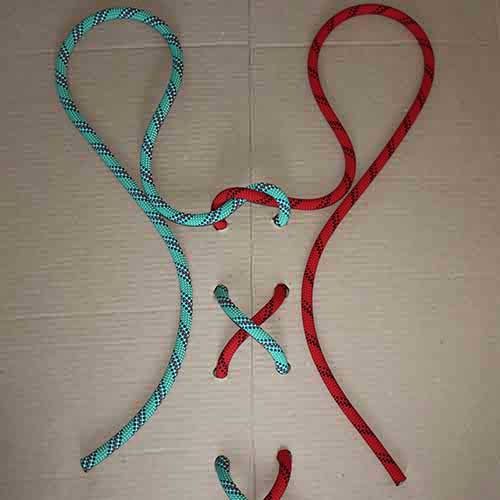
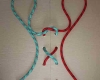
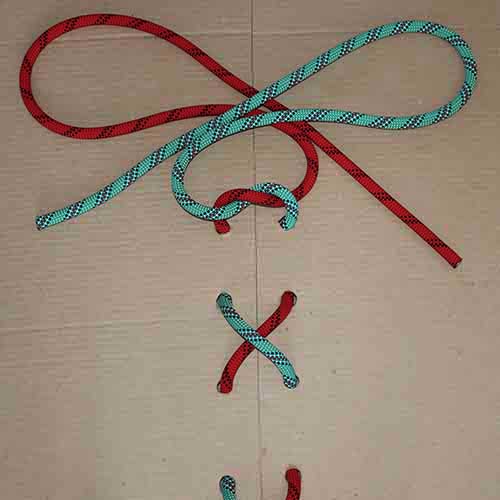
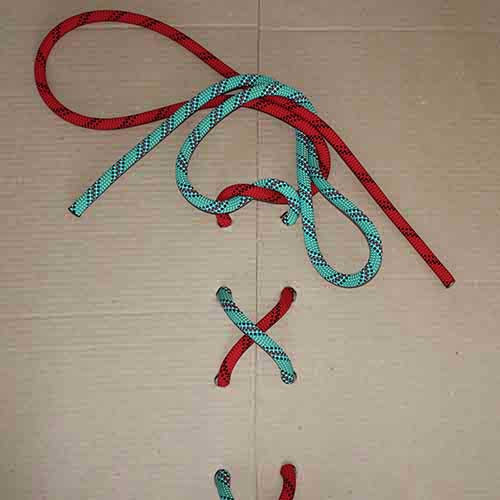
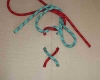
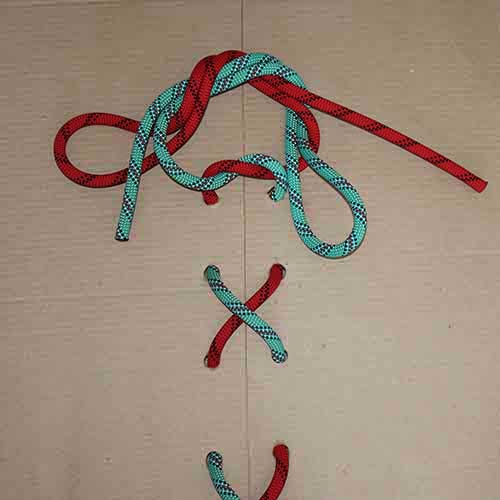
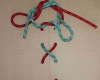
Tying
1. Start by tying an overhand knot just like in standard shoelace knot.
2. Fold both lace ends into loops.
3. Put one loop over the other.
4. Feed one loop through the hole in the middle.
5. Feed second loop through the hole from the opposite side.
6. Pull both loops to tighten the knot.