

Description
The rolling hitch is a knot used to attach a rope to a rod, pole, or other rope. A simple friction hitch,
it is used for lengthwise pull along an object rather than at right angles.
Use
A common usage while sailing is for rigging a stopper to relax the tension on a sheet so that a jammed
winch or block can be cleared.
Releasing
Jamming
Security
The load should always be applied from the side with the two turns. Ensure the hitch is very snug before
applying any strain, else it will not tighten further under load.
Though effective for moderate loads, the rolling hitch cannot be depended on to hold fast under all conditions.
Using stiff and slippery modern fiber ropes, the rolling hitch may be difficult to make hold at all. Friction
hitches with additional wraps and more complex structure may provide more security.
Other names
Rolling hitch, Magnus hitch.
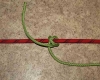
Tying
1. Begin by making a turn around the object, bringing the working end back between the object and the standing part.
Cross over the standing part away from the desired direction of pull.
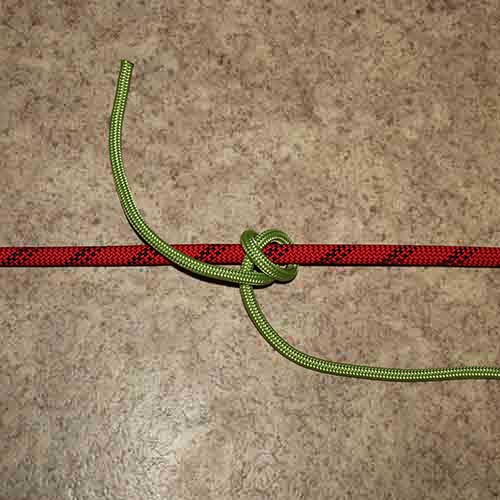
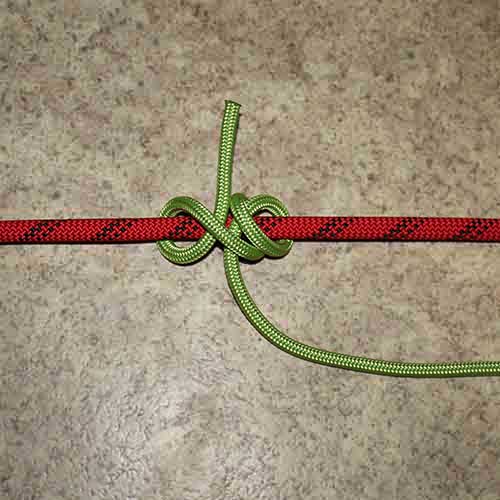
2. Make a second turn that exactly follows the first, and hence also passes between the object and standing part and
then crosses over the standing part, away from the direction of pull. Make sure the second turn “tucks” between
the first turn and the standing part; that is what gives this version extra grip when made around another rope.
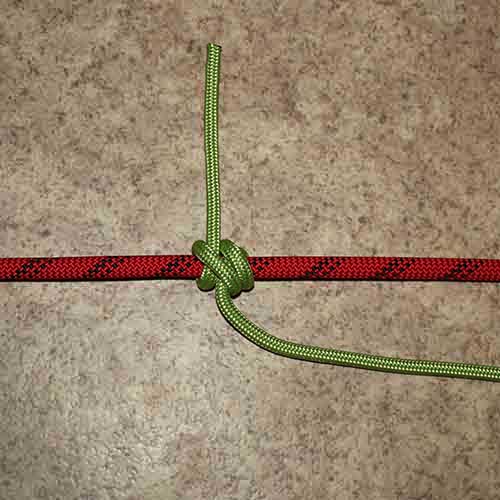
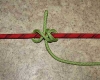
3. Finish with a half hitch, moving around the object in the same direction as the first turns, as for a clove hitch.
4. Dress by snugging the hitch around the object before applying load.
This is a midshipman’s hitch, ABOK 1855