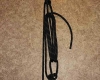
Versatackle

Versatackle step by step how to tie instructions
 
Versatackle step by step how to tie instructions
1. Make a loop (for example alpine butterfly) on one end of the rope and another loop in the middle, just longer than the area to be bound.
Versatackle step by step how to tie instructions
2. Pass the working end through the loop knot on the other end.
Versatackle step by step how to tie instructions
3. Then pass it back through the other loop.
Versatackle step by step how to tie instructions
4. Go through each loop the same direction each time for best results.
Versatackle step by step how to tie instructions
5. Repeat until there are two or three complete passes.
Versatackle step by step how to tie instructions
6. Pull on the working end, and work out the slack to tighten.
Versatackle step by step how to tie instructions

Description

A versatackle is a way of simulating a block and tackle without actual pulleys or deadeyes.

Use

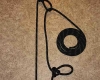
The Versatackle is a self-locking method of gaining mechanical advantage with rope much like a block and tackle.
Used for binding, clamping, pulling or tying down the load.

Releasing

Non-jamming

Security

The knot system is self-locking, meaning that just by pulling the free end and letting go, the Versatackle’s internal
friction will hold the load. For ekstra security tie off the free end.
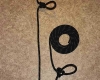
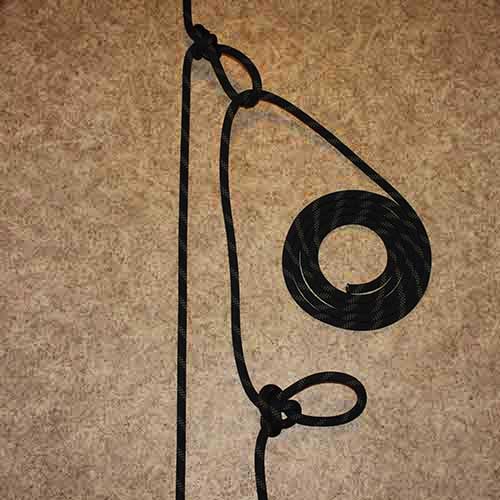
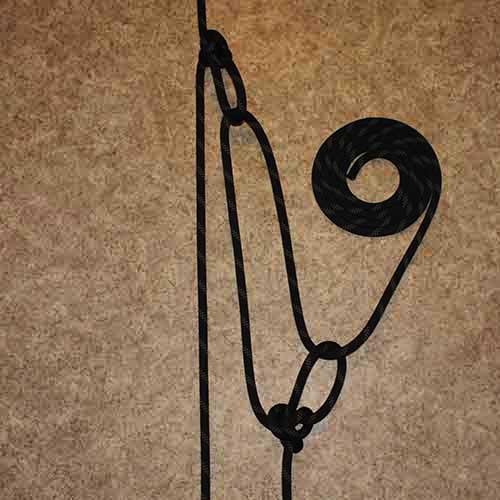
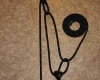
Tying

1. Make a loop knot (for example alpine butterfly) on one end of the rope and another loop knot in the middle,
just longer than the area to be bound.
2. Pass the working end through the loop knot on the other end, then pass it back through the other loop.
3. Go through each loop the same direction each time for best results.
4. Repeat until there are two or three complete passes (two or three ropes in each loop).
5. Pull on the working end, and work out the slack to tighten.

Leave a Reply

Your email address will not be published. Required fields are marked *

This site uses Akismet to reduce spam. Learn how your comment data is processed.