Climber’s coil

Climber's coil step by step how to tie instructions
 
Climber's coil step by step how to tie instructions
1. Coil the rope, when the last segment is reached form a short bight atop the gathered rope with its standing end.
Climber's coil step by step how to tie instructions
2. Wrap the working end around the coiled rope several times, moving towards the bight until only a short tail remains.
Climber's coil step by step how to tie instructions
3. Pass this tail through the bight.
Climber's coil step by step how to tie instructions
4. Then grasp the standing end and pull it away from the bight until it is cinched tight around the working end
Climber's coil step by step how to tie instructions
5. For added security, ensure both ends are sufficiently long to tie them into a reef knot.
Climber's coil step by step how to tie instructions

Description

The climber’s coil is a traditional method used by climbers to store and transport a climbing rope.

Use

Coiling rope for storage.

Other names

Climber’s coil, Mountaineer’s coil, Alpine coil, Lap coil, Standing coil.

Tying

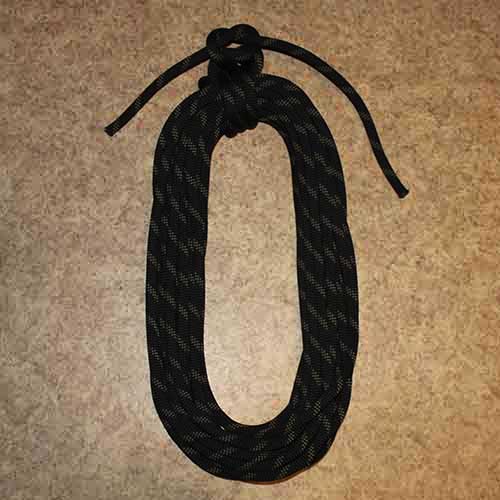
1. Begin by taking hold of the rope in one hand with its end facing you.
2. Coil the rope in arm’s length sections with your free hand (extending it away from the other as far as it
will reach to ensure each segment is of equal length as it is gathered).
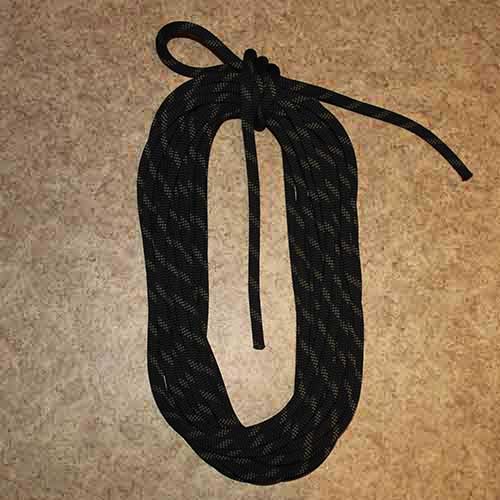
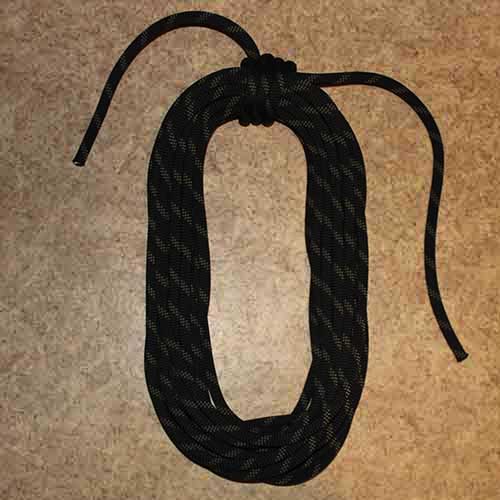
3. When the last segment is reached form a short bight atop the gathered rope with its standing end.
4. Grasp the working end and pass it over the bight and back through the center of the coiled rope in a round turn several
times, making each new wrap closer to the bight until only a short tail remains.
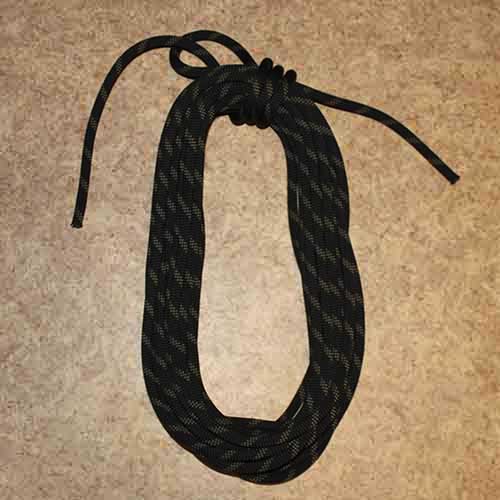
5. Pass this tail through the bight.
6. Then grasp the standing end and pull it away from the bight until it is cinched
tight around the working end.
7. For added security, ensure both ends are sufficiently long to tie them into a reef knot.

Leave a Reply

Your email address will not be published. Required fields are marked *

This site uses Akismet to reduce spam. Learn how your comment data is processed.