
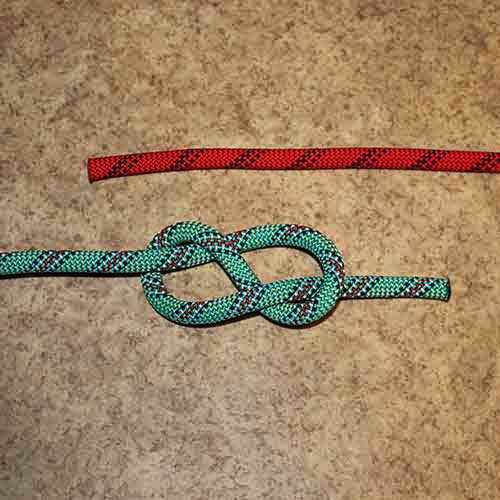
1. A loose figure eight knot is tied in the end of one rope.
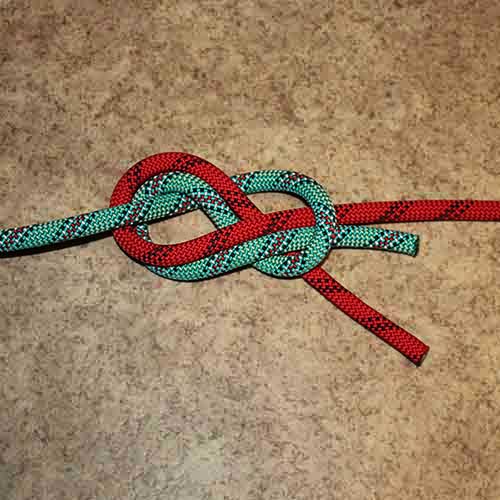
2. The second rope is now threaded backwards parallel to the first rope.
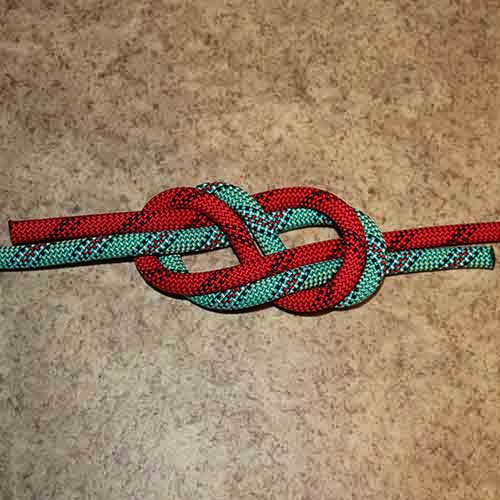
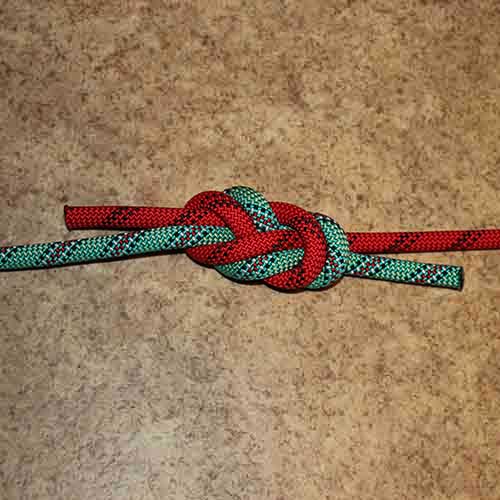
3. Be sure to dress the knot neatly - the two strands should not cross each other.
4. Tighten.
Description
A knot for joining two ropes of roughly similar size.
Use
Typical use is for climbers to join two ropes.
Releasing
Jamming. But if dressed correctly it remains relatively easy to untie.
Security
Although fairly secure, it is susceptible to jamming. If tied, dressed and stressed properly it does not need
“stopper” or “safety” knots. When used for critical applications its best to tie additional double overhand knots around
both standing ends.
Other names
Figure Eight Bend, Flemish bend.
Tying
A loose figure eight knot is tied in the end of one rope. The second rope is now threaded backwards parallel to the first rope.
Be sure to dress the knot neatly – the two strands should not cross each other.